
|
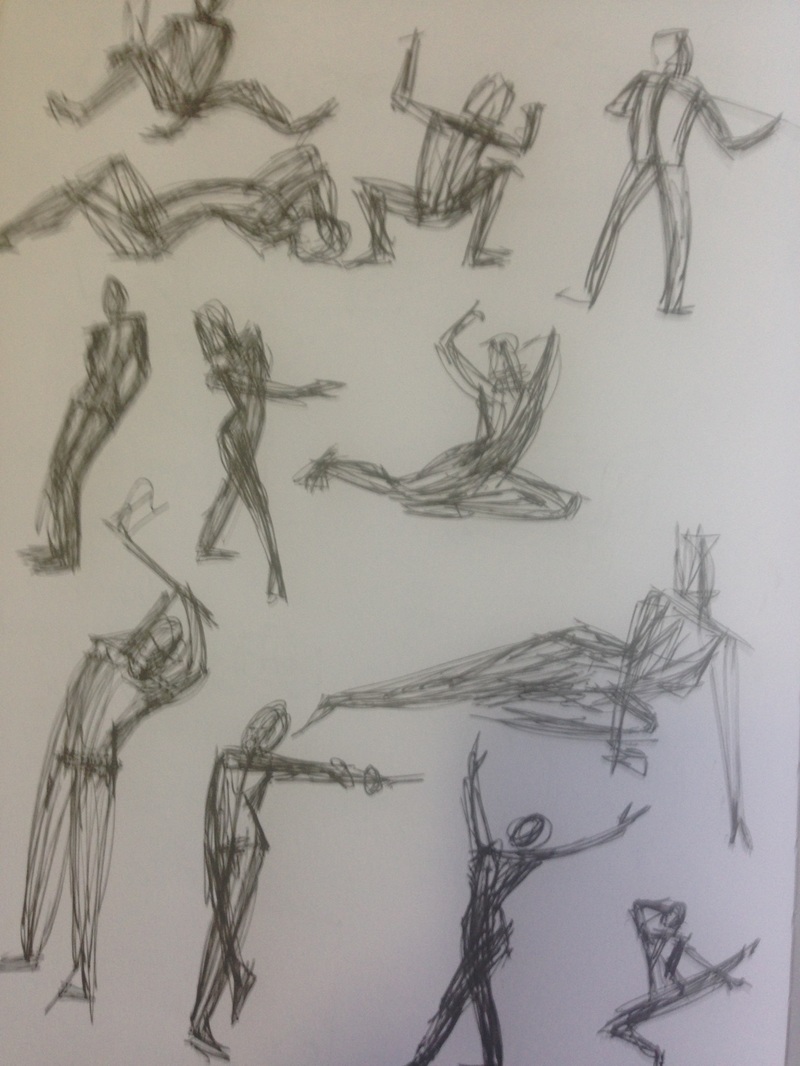
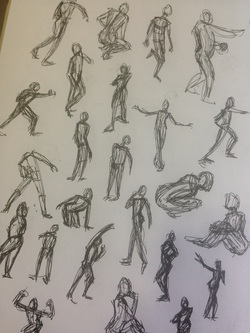
No, I didnt get this post up yesterday. Yes, I should have. But I was at the Norman Rockwell Museum. Looking at paintings by, you know…. Norman Rockwell. And life has been kind of crazy these last couple weeks anyway. So I’m only kind of sorry for being late. I, for one, really loved doing gesture drawings these last couple weeks. I will admit, because of the life being crazy stuff, I didn’t get to do as many as I wanted. But for me I felt that I had a real breakthrough with Gesture drawings this week. I found myself actually enjoying them, and I’ve never enjoyed gesture drawing before.
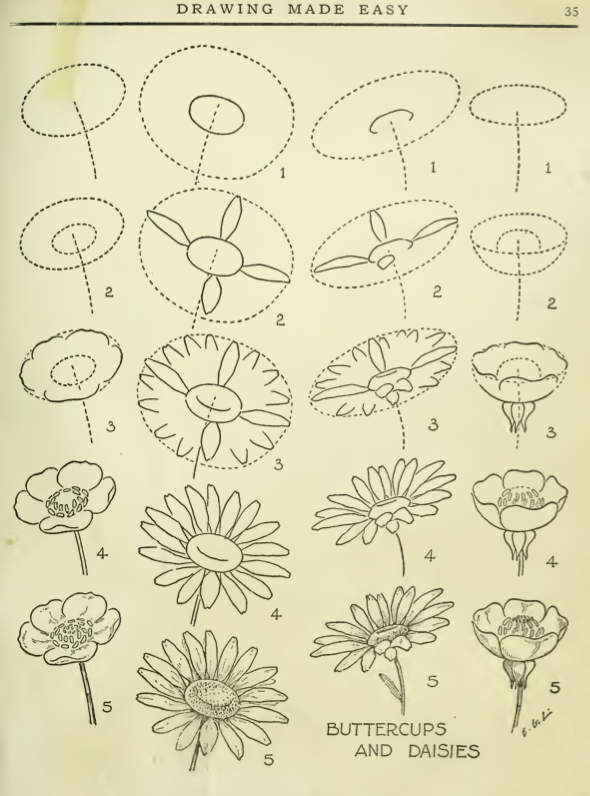
I think for me the real difference was not making myself use just a few lines to describe the movement. I kept my pen moving and massed in the entire form, rather than just focusing on edges or a single line of movement, and that is what worked for me. I never had a teacher do them that way, so the way Nicolaides explained them was very new and helpful. Everyone needs to find their own way that works I guess. Thats one reason why having multiple teachers or sources of information can be helpful. Todays concept was explained to me in a couple different ways by different teachers I had over the years. My college teacher would always tell us in figure drawing class, “Make an envelope and put the figure in.” It took me awhile to understand what he meant by that. An envelope? Maybe I’m too literal, but I would imagine slipping a drawing into an envelope and didn’t see how that related to how I was drawing at all. Now I understand that what he was talking about was something very practical for artists. It is a concept that my high school art teacher put into somewhat simpler terms. She would say, over and over. “Work from general to specific. General to specific. General to specific.” What does that mean? It means that beginning artists, and sometimes experienced ones, have a tendency to get caught up in details. When we are drawing the face, we sometimes want to dive right in and put all the eyelashes on the eye. But before that, you need to make sure you have the eye in the right place. And that the nose is in the right place. And the hair, the head, the neck. You need to start with the overall shape, and break it down into smaller and smaller details. This is an idea that is demonstrated in the books “Drawing Made Easy” and “Practial Drawing” by E. G. Lutz. (It is also probably outlined elsewhere, but public domain books make things easy on us.) The most important part about todays exercise is how you start it. Start by looking at the entire shape of the thing you want to draw. Decide where you want that shape to be on your paper. This the beginning (just scratching the surface) of composition, because you do NOT have to just put it in the middle of your page. Maybe it would look better towards one side or the other, or cropped in a certain way. Make that decision.
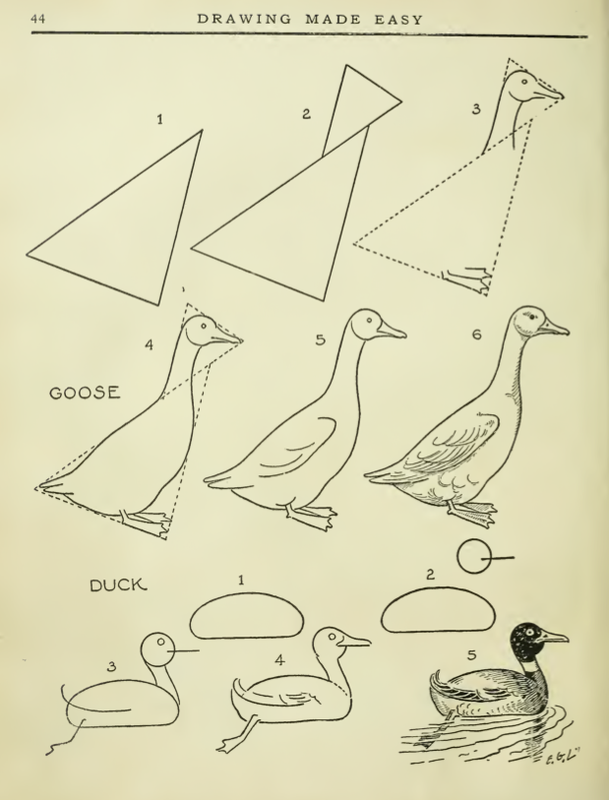
Then, very loosely give yourself a general outline to work within. Look at the pictures above from the Drawing Made Easy book--Flowers start as an ellipsis, an owl begins as a rectangle, a duck begins as two triangles. You don't have to start with a geometric shape if that doesn't make sense to you, as long as you are looking at the whole shape without worrying about any of the little details. We are NOT doing a Negative Space drawing here, but it can be helpful to look at the negative spaces just to see if you have the overall shape correct--we don’t care about all the little ins and outs of the shape yet. In the duck picture above, you notice that the triangles go around the very outer points of the shape, and then when it is refined the inner points are defined. Once you have that, Think of the next logical way to break down your shape. For example, lets imagine you were drawing a portrait. Look at other large shapes--what is the overall shape of the hair? We don’t care about the individual hairs yet, we are looking at the entire mass. What is the overall shape of the shirt? What shape do you see formed by the neck, between the shirt and the jaw? These aren’t negative shapes, but they require a similar kind of thinking--do NOT think “hair” or “neck” or “shirt”--think “shape”. After having a general outline of the larger shapes, find the center line of the face, and then lightly mark where the brows, eyes, nose and mouth fall. Keep moving around the picture, bringing the whole thing along step by step--don’t stop at one spot and finish it until you bring the rest of the drawing to a similar level. No eyelashes until the end. Exercise: Envelope Drawings Goal/Focus: Seeing large shapes, correctly placing large forms before adding details, accuracy, composition Materials: Sketchbook and pen or pencil Assignment: Choose a new subject to draw each day this week. Draw from life, not photographs. Think of the overall shape of your object and where you want to place it on your page before starting. When you begin the drawing, loosely outline where you want the object to be, and then gradually break it down into smaller and smaller shapes. Spend at least 20 minutes on your drawing--move slowly, this isn't about drawing quickly, but rather about drawing accurately.
0 Comments
Leave a Reply. |
Your email will not be shared with anyone. It will only be used for updates from me, and you can unsubscribe at any time.
Categories
All
|


 RSS Feed