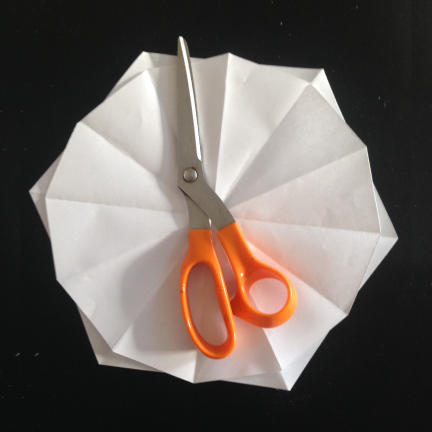
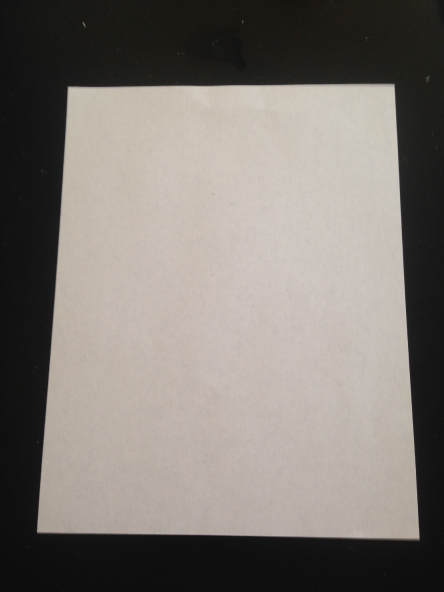
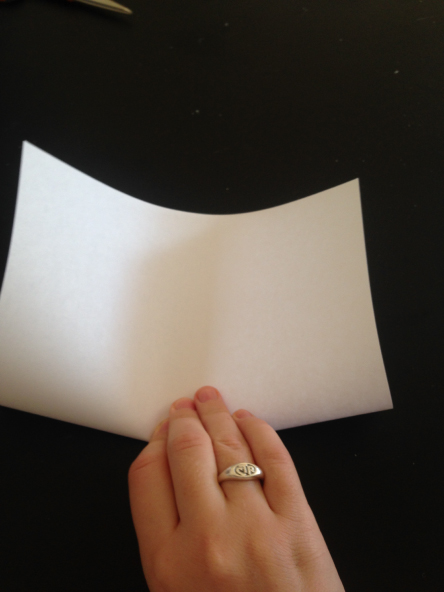
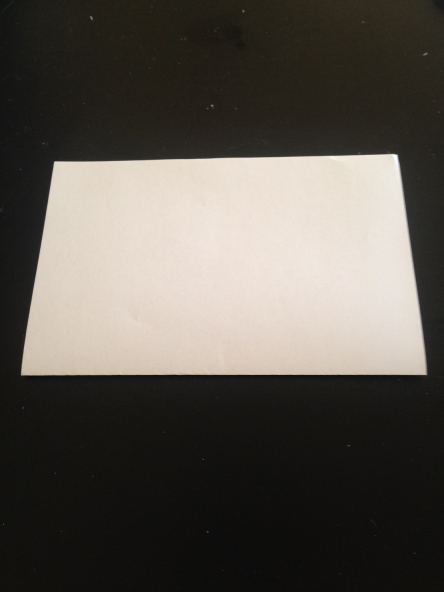
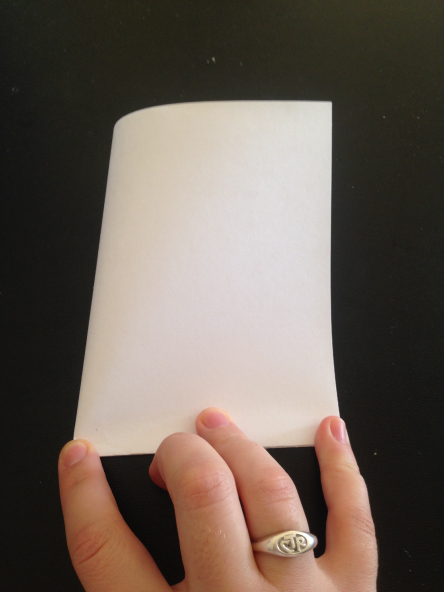
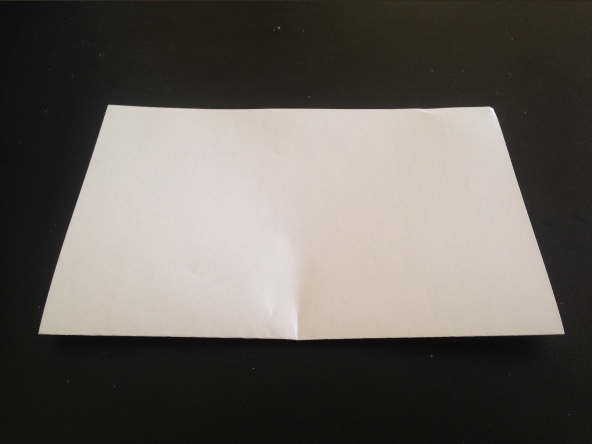
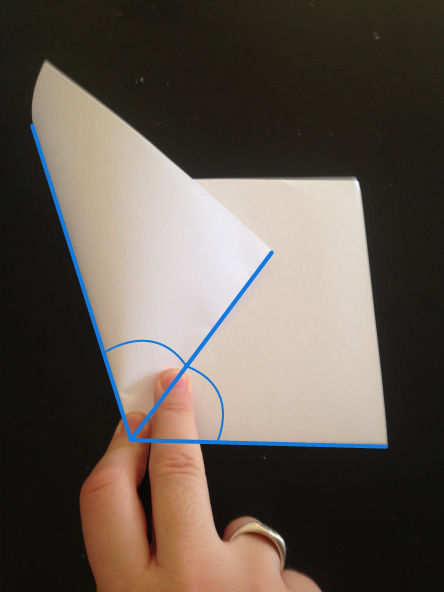
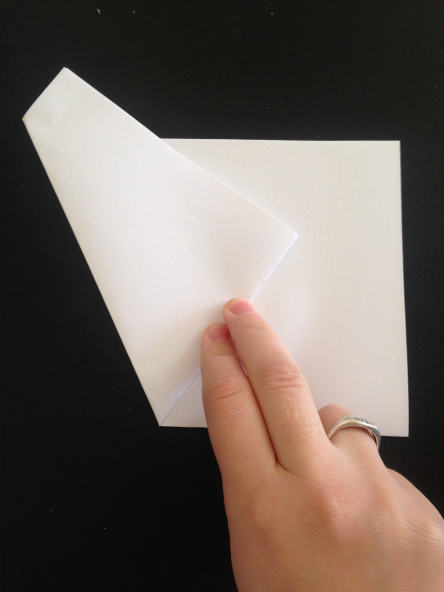
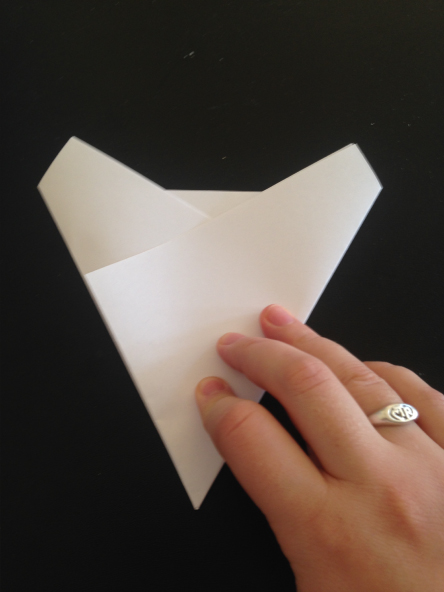
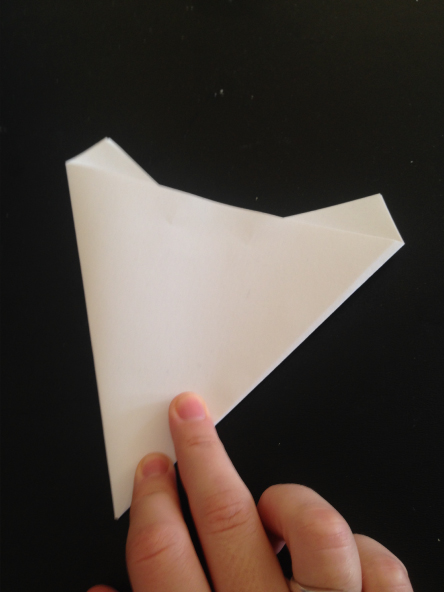
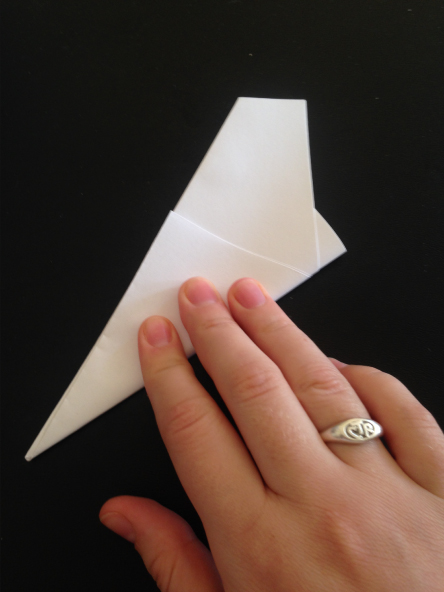
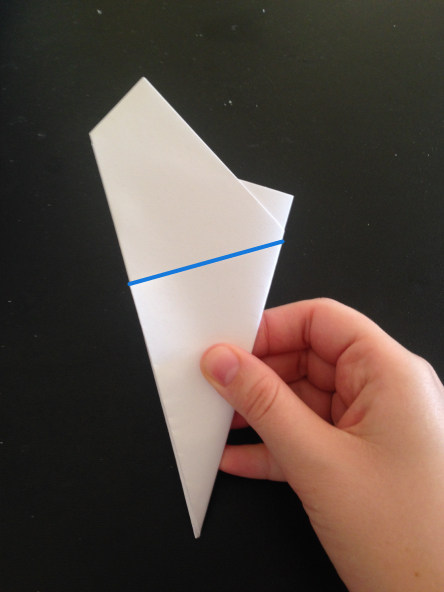
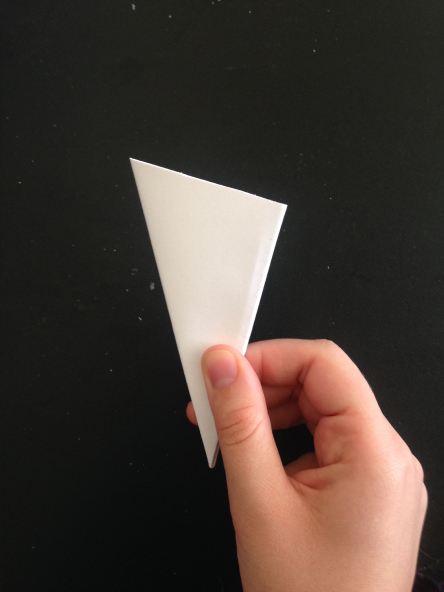
I thought the internet would have it figured out too. However, that doesn't seem to be the case. Maybe I'm judgemental, but I just don't like most of the snowflake folding instructions I've found out there. So, I'm going to make my own set of instructions. I've never actually made instructions for anything before, so I may fail at making something better than what is already out there simply through inexperience. Photography is a big thing I need to figure out. Therefore, this will be a work in progress, and I may update it later if I find that there is a better way of doing it. Also when I learn to take better photos. Definitely. One of the reasons I'm dissatisfied with all the snowflake instructions I've found on the internet so far is that most of them tell you to start with a square piece of paper. Since I think 99% of the people following the instructions will use a 8 1/2 x 11 piece of printer paper, this just adds an unnecessary step to the process. Additionally, you end up with slightly less space to work with. Nothing huge, but I like taking advantage of as much paper as I can. In the picture below I folded a 6 pointed snowflake with a square piece of paper, and folded one with my own method. My method is the bottom piece. You can see, one folded my way will end up with a little bit more space. Again, not a huge deal, but I thought it was interesting. Snowflake folding takes several steps, so I'm going to make 4 separate posts--one each for 6, 5, and 7 pointed snowflakes, then one with some tips and ideas for designing your snowflakes. So, without further ado... HOW TO FOLD A 6 POINTED SNOWFLAKE: |
Your email will not be shared with anyone. It will only be used for updates from me, and you can unsubscribe at any time.
Categories
All
|

 RSS Feed